Steps to Set up a Shopify E-commerce Store
Without further ado, let’s start with the detailed tutorial! Feel free to jump ahead if you’ve already taken care of the early steps:
Create Your Shopify Account
Set up Your Shopify Online Store
Choose a Theme or a Layout For Your Store
Customize Your Store Settings
List Products on Your E-commerce Website
Make Your Shopify Store Live
Get a Domain Name
Head over to Shopify.com, and use the sign-up form to create your account. You can start your 14-day free trial after filling in all the necessary details.
You should try to choose a unique store name. However, this shouldn’t be at the cost of simplicity or relevance. In case you enter an already chosen store name, Shopify will ask you to put something else.
Once you get the website name sorted, you’ll have to fill in a few other details, such as your name, address, country, and contact number.
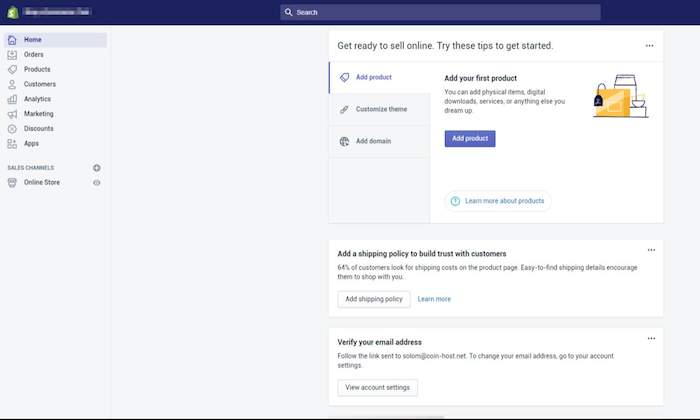
At this point, you can start customizing your store, uploading products, and setting up payments and shipping.
You’ll also find several other options on the side menu bar, but for now, it’s best to stick to the basics.
Shopify gives you direct access to a plethora of themes thanks to its official theme store.
Each one is guaranteed to have full support from the designers, so you can rest easy knowing your store is in good hands.
The idea behind choosing a theme is to create a more on-brand website. This will keep your visitors on your website longer and encourage them to explore your products.
Each of these has a comprehensive list of modifications. You don’t need any prior coding knowledge.
If the free themes don’t appeal to you, you can always choose the premium versions that come with more features and customization options. Honestly, this also looks much better when compared to a free one—provided you choose the right option.
Another reason why I like Shopify so much is that it’s incredibly user-friendly. Even if you decide to make notable changes to a theme, the limitations are few.
You don’t have to worry about not having any coding experience. Shopify has an international team of design agencies—called Shopify Experts—that can fully customize your e-commerce website. Keep in mind you’ll have to pay for this expert service.
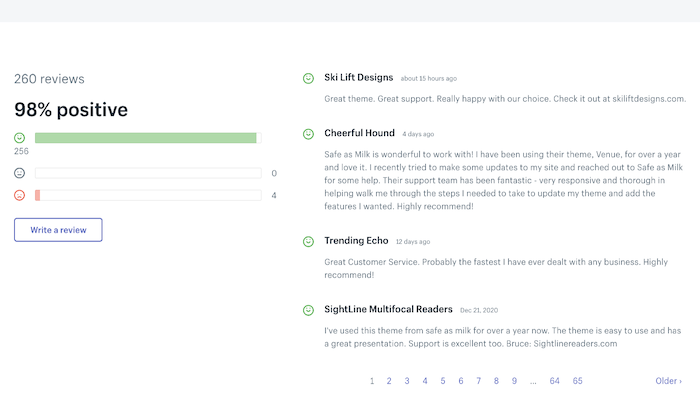
Scroll down to read reviews written by people who previously used the theme to find out more about their experiences.
#3 Preview the Theme
Shopify gives you the option to see your selected theme live. Click View Demo located below the green Preview Theme in your Store button.
The preview feature is a great option for themes that have a range of styles. In its absence, you would find yourself repeating the whole selection process again and again until you’d find the right match. Yikes.
#4 Get the Shopify Theme
If you like the demo version of a specific theme, all that’s left for you to do is click the green button to get it.
When Shopify asks you to give your confirmation about installing the theme, click Publish as my Shop’s Theme. If you’re uncertain about your chosen theme, you can always change it later.
Shopify will alert you once your theme finishes installing and then give you the option to go to your Theme Manager.
This manager contains all your published themes (the one you’ve installed or activated most recently), along with unpublished themes (previously installed themes).
Shopify themes are like your personal fairy godmother. They completely transform the way your e-commerce website looks, giving it a unique appearance even when thousands of other users download the very same theme.
How is this possible? You can make simple changes by editing your settings.
Select Themes from the left navigation menu. You’ll see your live theme in a box at the very top.
This box will contain two buttons located in the top right corner of the box. The first one with three dots allows you to make basic settings changes.
One of them will allow you to duplicate your theme. I advise you to do this as a backup. If you don’t like the changes you make, you can always delete them and start working again from the duplicate.
The second button is Customize Theme. Clicking it will direct you to a page that controls all the basic functionality of your store. This is where you can make big changes and test out all features to understand what your website is truly capable of.
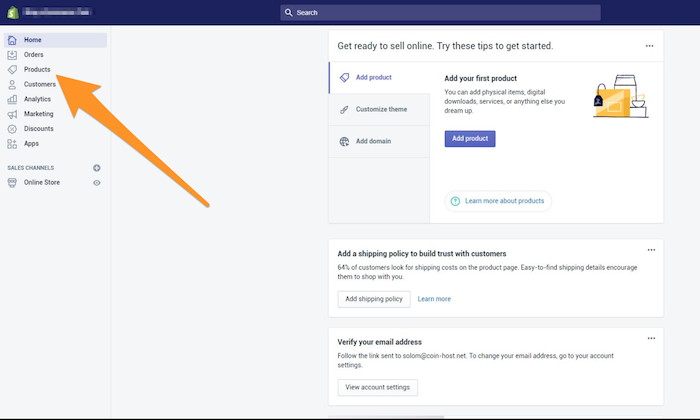
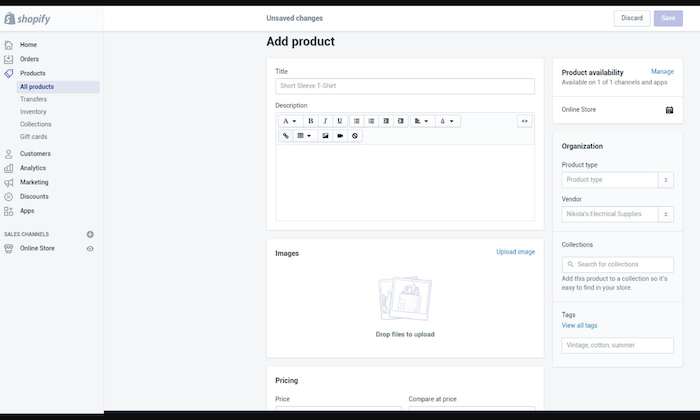
You’ll see a blue Add Product button in the middle of the page. Click it, and this will allow you to add as much detail as you want about your products.
Pay attention to products that could do with some SEO optimization, including their name, description, and URL. Try to add as many details as you can to give your customer a clear idea about your products.
This is also the screen where you upload HD-quality photos of your products—preferably on a white background. Once your images are uploaded, you can rearrange them however you like, so there’s no hassle of having to upload them in a specific order.
I really cannot emphasize enough the power of product images.
Product images are instrumental in making a sale. This is why you should make a point to add only the best pictures that highlight special or unique features in the close-up photos of the items.
Your customers will thank you as they won’t have to go through your whole catalog just to find a specific item.
Option B: Manual and Automatic Collections
When you add a new collection, you can choose how to add the products. Currently, there are two ways of doing this:
Manually: You individually add and remove products to the collection.
Automatically: You set up specific selection conditions that will automatically add products that meet the criteria.
While you’re at it, choose a payment gateway, too. This is a feature that enables your customers to pay for products directly through your website.
Not all payment gateways are created equal, though. Make sure you go through the transaction fees, card types, and offsite checkout to select an option that you find most appropriate.
Before your site goes live, you need to add a few more details about your company and how you will deliver the items and pay taxes.
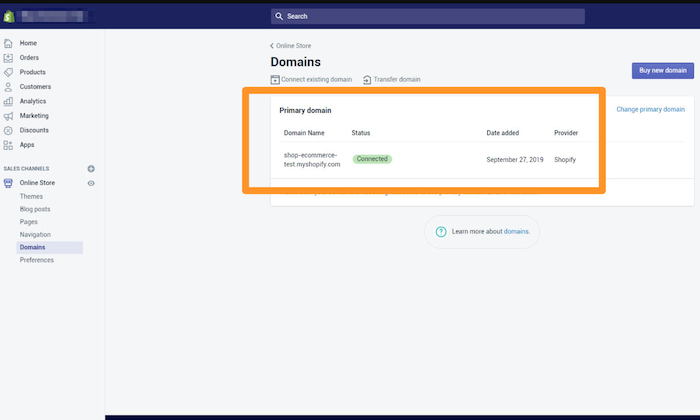
#5 Add other domains.
Repeat the first two steps with any other domain you use. All traffic from these domains will be redirected to the primary domain, which you set in step four.
Congratulations! Your new Shopify e-commerce store is now up and running. You’re now completely ready to get a taste of being an e-commerce seller.
The good thing about Shopify is you can customize your store to your liking as many times as needed to keep everything convenient and functional for you.
Keep experimenting as you go in order to finetune your site.


